Thursday, 10 June 2021

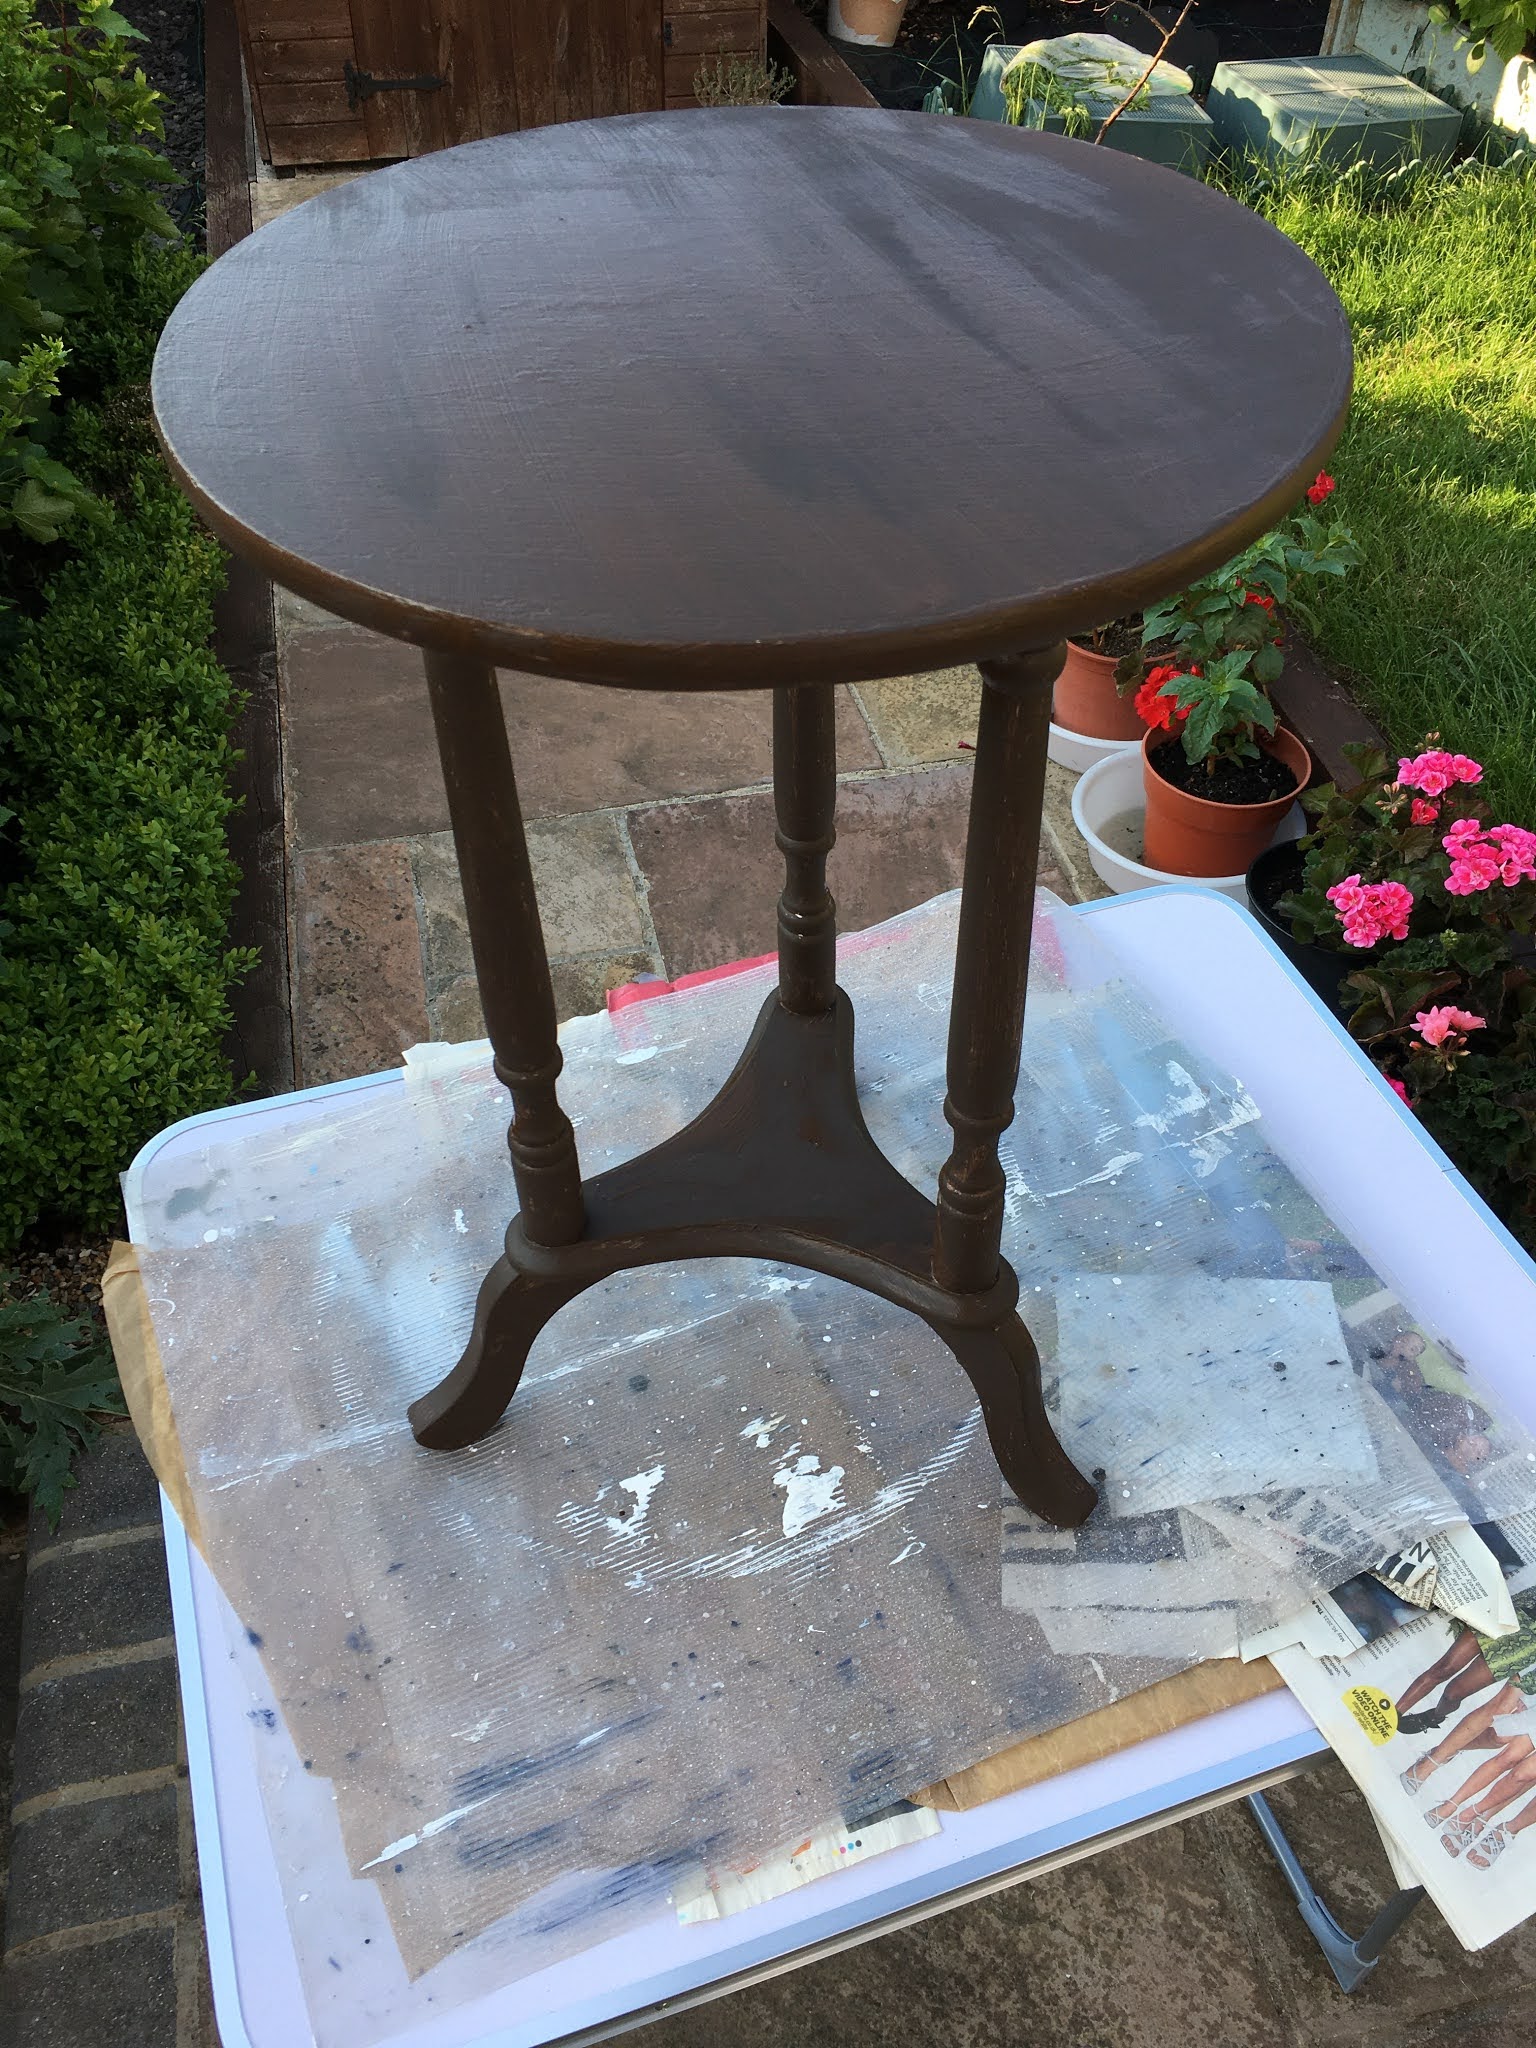
Rococo table 4

Well, that’s the last time I say I expect something to be easy.  The stencil at the bottom is the one I’ll use.  It’s not as precise all over as it needs to be, because all I was after was a time-saving device for the relationship between all seven sections radiating from the centre.  I will be hand painting the rest.  Considering I have to paint 16 shells, TG for stencils.  I also made the stencil less symmetrical because Rococo does not use symmetry.  


Ok so the table has changed colour from the green you can see above.  I faithfully copied Italian paint, where they used layers of scrumblimg and then some ochre.  I ended up with this, which was nice but just not peaceful enough for tea in the garden.  So I stripped it and painted it white again with undercoat and will top coat it later today, hopefully.  The final colour is going to be heavenly, durable and a unanimous decision between me and Alwayshungry. 

The shell motif was going well, then it was not.  I couldn’t find my modelling knife and virtually turned the house upside down and inside out trying to find it.  Anyway, it’s all sorted out now. So the shell will be half hand painted and half stencil.  If it doesn’t look as I hope it will, I will re-think that detail.  The main problem I have now is this new colour that the table will be.

Then there is the background green stripes around Marie problem, that has to go.  It occurs to me that I could paint a gold background, which would be so nice, but I’m keeping my mind open on that, as she may need some sky instead?

I coated the stencil in nail varnish to make it waterproof, as I don’t want it to become soggy and limp.

It’s very hot in little England now and that makes we want to tidy up, big time.  I seem to have a lot of miscellaneous items in the wrong places and I’m a person that if I can’t find something in under 05 minutes I start to get very grouchy.  Thank Goodness for plastic crates!

Sunday, 6 June 2021

Rococo table - stage 3

Hello eager revampers, 

Not content with the way the design was going I thought the problem was due to the legs but then I realised all roads lead to, and from, the central image of Marie Antoinette.  

While trying to figure out how the top will relate to the legs, I painted the whole thing brown, as a base layer for Wax Resist technique.  Because the table has to look old after it’s painted, I decided to achieve the patina I really will need to bash out about a bit with various implements, not least of all my wire brush.

So after it was painted brown, I then had to about making Marie look more like she was hand painted.  The great thing about inkjet prints is you can move the colour around with water colour paint, applied in thin washes.  Being careful not to get the paper too wet. First I sorted out some colours by using my best pigments, then I toned down the highlights, then I neutralised some colours, then I used a gold pen, then made all the darks darker.  You basically go on like this to try and make it all more 3-d.

Feeling Marie had been sorted out by being made to look less flat and more 3-d, it gave me the idea that the shell design for the outer circle of the top design needs to be painted 3-d too.  I don’t have a problem with 3-d per se, because it incorporates lots of tricks, or illusions.  So I found an image of a period shell but it was too abstract for this piece, but I liked the dimensions.  So I traced around it with a ball end thingy, went over the shape with graphite, and then within this framework I superimposed another image of a shell from my phone.  The thing about Rococo is they abandoned lots of symmetry, so motifs like this are actually easy to repeat because they are forgiving.  The problem of how to fit the shells, that lie on a horizontal axis, within in the circle is not going to be a problem, I hope, because I shall make a template of the whole thing first with baking paper. 

I’m very excited to use massive dollops of gold paint.  To date I have about 4 different gold shades, which will come in handy because I don’t want very much flat gold.  I cannot yet see the fully finished piece in my head because I always wait to see how much I can exploit the materials.  I also want drama and that is always a bit uncertain but very very exciting.  I also must keep within budget....so no more decoupage images!

As I give the table more thought, the more serious this endeavour becomes, which is great because I have a lot of stuff going on at the present time and wrestling with design ideas really takes my mind off the things that are going on in reality.  As Hitchcock once said “No one really wants reality”.  


Thursday, 3 June 2021

Rococo table - stage 1

 Ok so work has begun on this little table.  I bought some decoupage images from Etsy and have started to place them and think about what I can do with this piece.  

I decided the colour palette will be from a famous painting of the period.  I also looked at crockery and clocks to give me ideas.  Invariably when you image search you end up with images from the Rococo revival and I don’t want those, nice as they are.

So then, quite by chance I stumbled upon a picture of a Rococo side table photograph by an antique dealer in Amsterdam and then I realised that was the missing piece, in my thinking, as it were, because now I have a patina template to work with.  So now I’m pretty clear as to my layers, under-painting colours and where and how to distress it.  I’m going for wax resist method on the edges and wire brush and sand paper for other bits.   

So I primed the table with Zinsser BIN, which as you know is my go-to paint for revamps and refurbs. The stuff is amazing, but you have to clean your brushes in Methylated Spirits, because of the shellac.

I did two coats of that and painted the underside of each level too.  This was after I washed the table all over with Soda and white vinegar with a dash of washing up liquid.  Then rinse it.  The soda kills any mould or fungus.  Its an old table that I bought at a boot sale for £2.  It’s a mass produced reproduction that was made in China.  I bought it to use in the garden to serve tea and so I’m going with Marie Antoinette ‘Let them eat cake’ loosely speaking, sort of thing.  

So the first couple of images I bought in Ye Olde Etsy were um....duds.  That was a shame because I am on a budget.  However as my ideas progressed I realised how much work was involved and so thought it warranted two more digital downloads.  I thought the images were priced fairly but the taxes seemed steep?

Let’s get back to work....remember people, Adam accepted his fate when he knew he could work....work IS our salvation!


Tuesday, 1 June 2021

Rococo time

 After doing so much distressed and dark art, I decided to revamp this little table.  


The shape and overall design is really dainty and if I close my eyes I can see it in a Roccoco style with decoupage top, lots of gold paint and adorable pastel colours.  I think I’ll varnish the whole thing and basically ham up tea in the garden.

I decided to do this after I spruced up my wheelbarrow frame, which had become very rusty.  So here is the table and the wheelbarrow.  

The thing I learned about rust is, it’s actually greasy, so once you go at it with a wire brush, then you need to wash it down with brush cleaner, then you paint it with Jenolite Rust Converter.  I really enjoyed working with this product because it’s fast and once it turns the rust black, there is no need to either wash it off or sand it.


The table could take longer than I would like, so I will have to find ways to speed up the process, like making stencils and using lots of masking tape.  

The table is actually jumping the queue around here, which increases the pressure on me, as I need to finish my IKEA revamped chest of drawers, pronto.

Well I must dash - keep working, keep achieving, keep making progress ppl!


Wednesday, 26 May 2021

Tissue box - urban decay patina 2

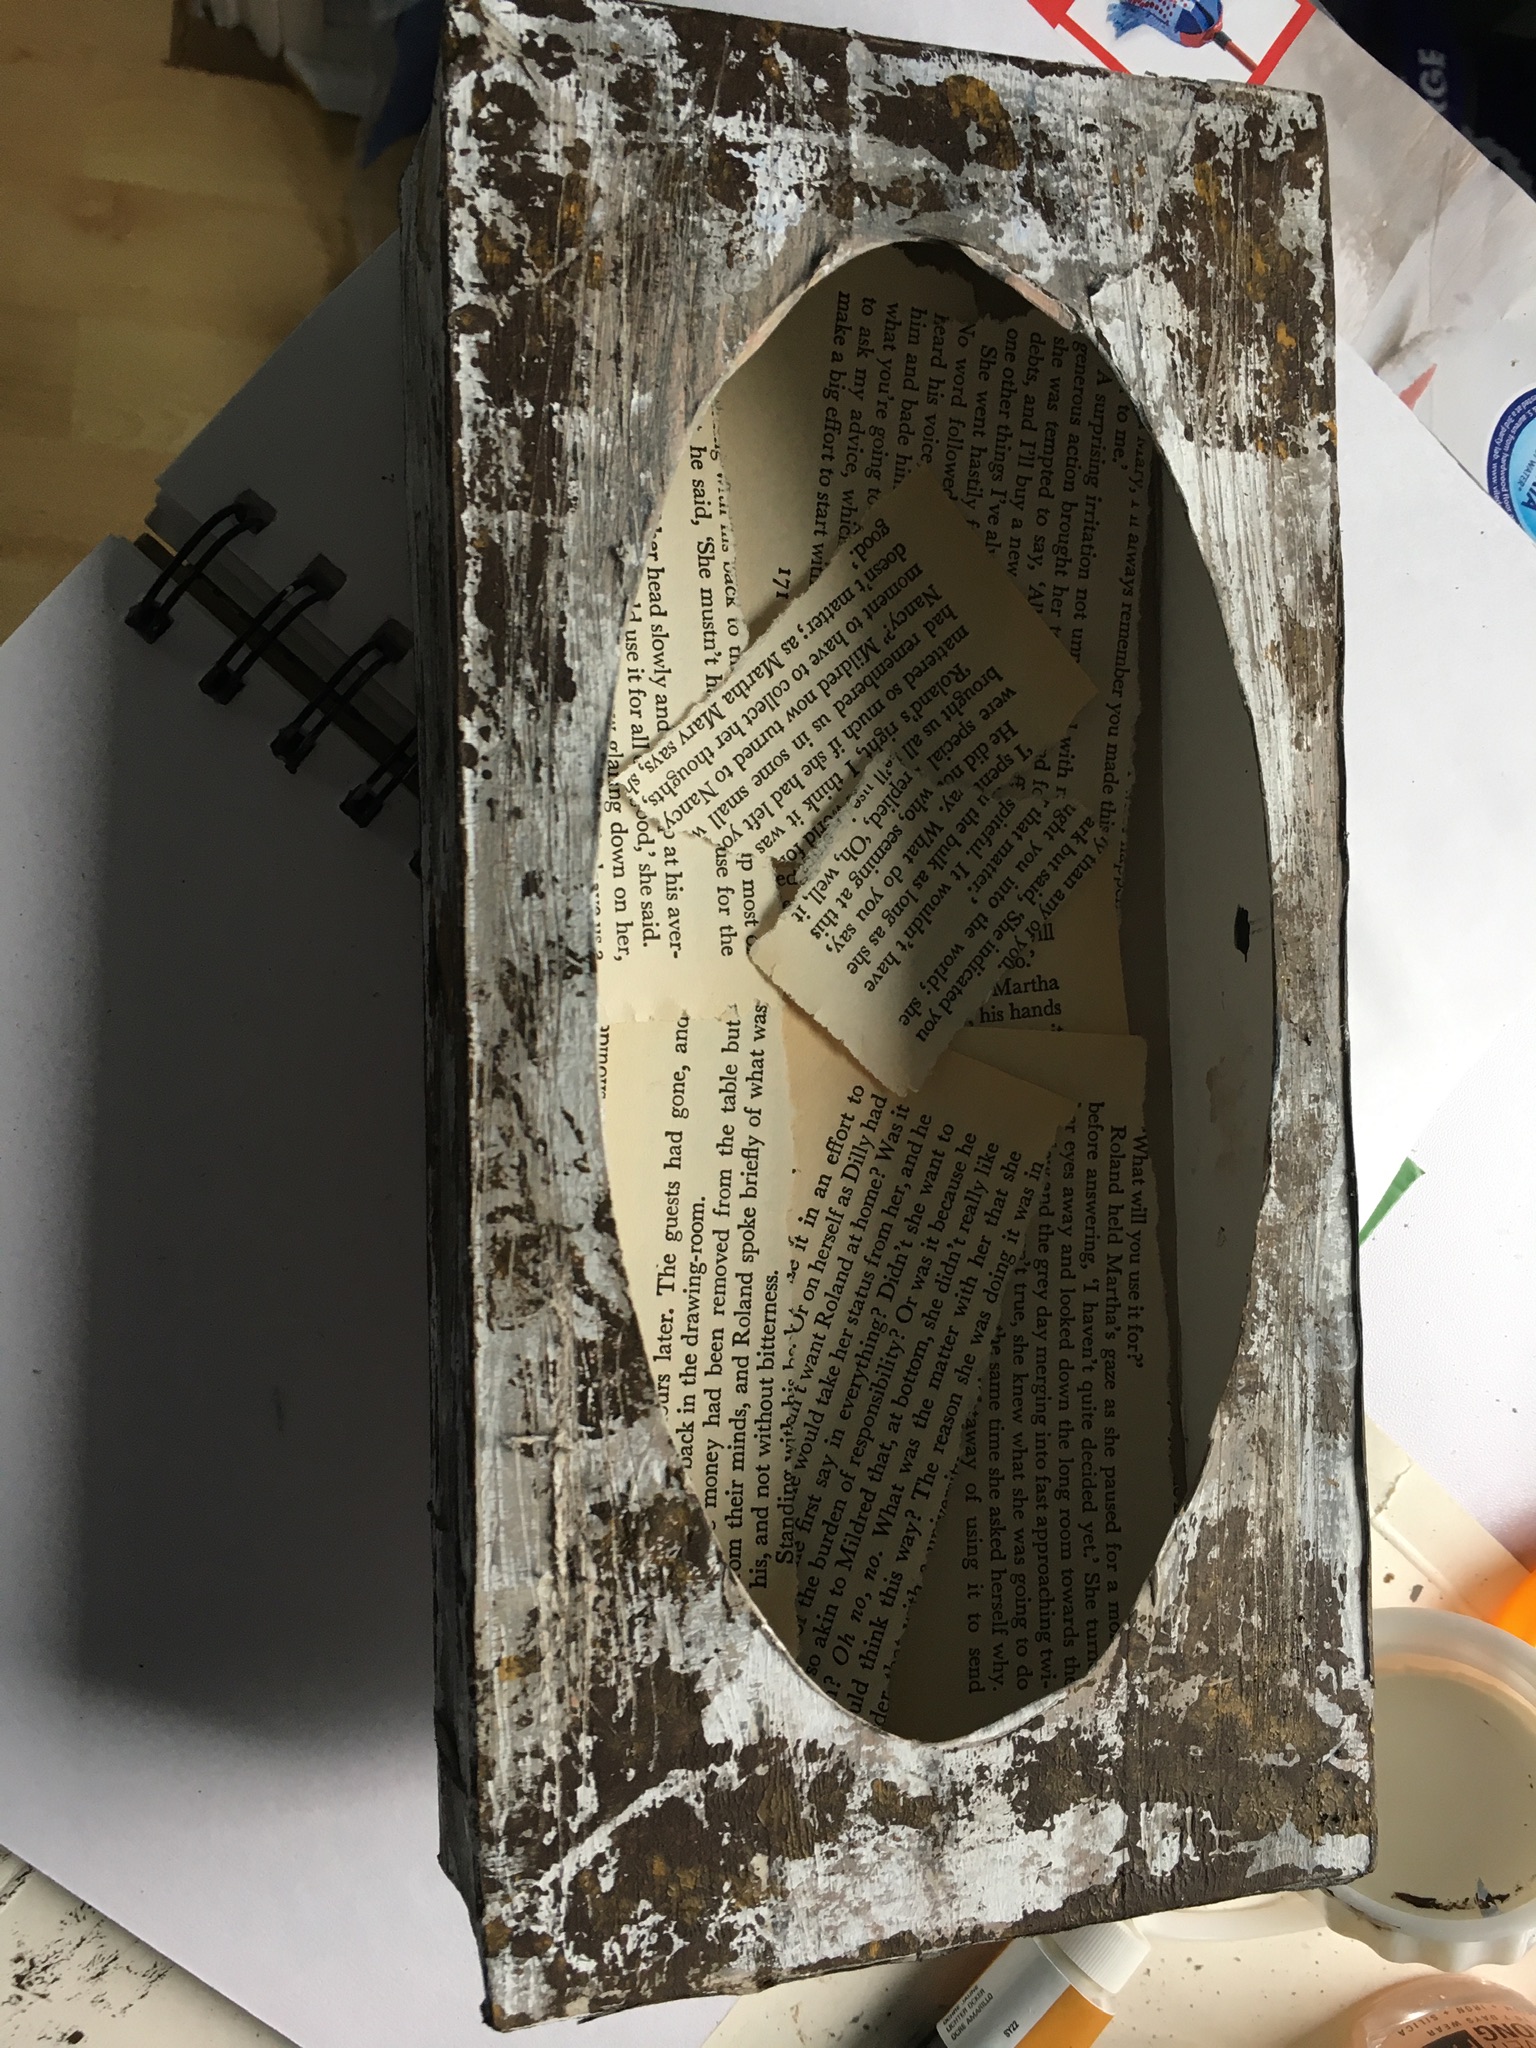
 I went back to the box and shook it up a bit.  It’s finished when it leaves me in peace, it hadn’t done that yet.  Also, I wanted it to communicate more.  I used wax, nail hardener and Vaseline, as well as cling film and acetate.  All I’m interested in is conveying a sense of the passage of time, decay, being lost, abandonment, neglect etc etc.

After that I decided to record the ‘paint printing’ method in my sketchbook.  As I did this a strange thing happened...


Monday, 24 May 2021

The motorway

 I was driving really late last night and I had to stop along the route.  Less than half an hour later there was a collision in the road ahead of me.  If I had taken possibly two minutes less time in the break I took, I would undoubtedly have been directly affected by this accident.  To cut a long story shot, I watched the rubber-neckers gawp at the mangled vehicles and take macabre photos, but remained in my car.  When they managed to let the people through I could see what had happened, it was an extremely bad accident where clearly as a car was attempting to change lanes, the car in the next lane just drove into him and spun him round and crushed the car to smithereens.  The drivers were unhurt, but shaken up, I think they were young dope-heads, you know the sort..

Anyway as I drove along and looked forward to my nice warm bed, I encountered a truly magical sight.  A large group of deer were at the side of the road and just in the road, gently nibbling fresh green over- hanging shoots, without a care in the world.  I glimpsed the stag in amongst his harem of very sweet does.  

Then when I got up the next day, I decided to use the way I felt in my artworks...

I had made a weird stage prop grunge, inside-out tissue box to experiment with aged patina.  I wanted to make fake aged wood, you know the kind of things you see in derelict buildings.  (I adore urban decay images!)

(I’ll post all the pictures at the end because this thing bounces around a lot once I upload images.)

Then I was experimenting with mark-making and texture.  It was really hard to a achieve a particular mark I was after, but I’ll work out a quicker or better way to do that.  There a masses of YouTube videos about distressing for faux patina and cracked, flaked and peeling paint.  Personally peeling paint is the one I’m after, as it’s such an evocative communication shorthand for the passage of time...

I work fast, always have and the painting I did for my bedroom, incidentally, took under an hour to paint.  Thinking about it took a lot longer, but once I got down to it, my hands are basically catching up with my brain and my eyes are just the referee.  

Here goes, first off, a landscape using paint transfer from waxed paper...


Saturday, 15 May 2021

Long time no see ppl all over the world!

 I finished the chair!  


Then I needed to do the painting for my Moroccan bedroom...but of course one thing led to another, and the painting turned out to be very different from anything I had planned up to that point and opened the door on a whole new chapter in my life.  Which is basically to pour all my brain activity into making paintings.  So here are all the photos, sorry but there is simply no more time to wax lyrical and navel gaze.  I need to get on...remember, all of life is a test and we need ask ourselves this? Do we think for a moment that we can either opt out or worse still, fail?  No way!