I am virtually at the end of the book…however, I now have some urgent DIY jobs to complete. So this post is a quick round-up of recent investigations, to be followed by fuller explanations in the near future..
As you can see, I decided to use wool for this next phase and a double pointed needle to support the work, as it’s much easier to see the tiny pattern sequences created with DBH. (I’ve inserted this just in case anyone coming here for the first time thinks this post is somehow about ‘mini-knitting’ !!!)
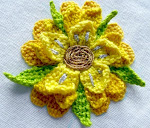
Flower 2 – Large Petal Shaping
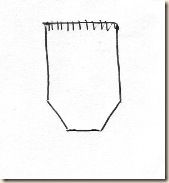
The next 5, large 3-d petals on Flower 2 are embroidered repeats of a single template which is this shape:
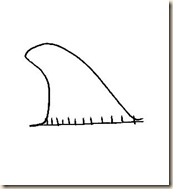
It’s particularly interesting because it’s more geometric than others on The Bag which seem more ‘organic’ (or leaning) by comparison e.g.
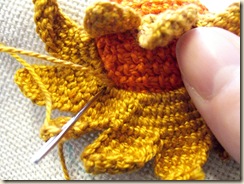
I am able to clearly see two-thirds of the pattern applied to this petal shape because unlike it’s neighbours it happens to be virtually uncurled.
The first third of the shape however, is in the shade of the earlier ruffle made of a row of smaller ‘organic’ petals:
It has been difficult for me to work out how they made this more geometric shape because no sooner did I start working on it, than I realised I would need to abandon many of my previously held assumptions about Detached Buttonhole (DBH) shaping (!).
Pleased to say, I think I have finally worked it out and it rounds up almost 18 months, on and off, of close analysis.
This is an essential area of progress and it means I am now in a position now to forge ahead with the more complex shapes.
I have started to think about Flower 3 (I think it’s a Honeysuckle) because I now understand why DBH behaves in the way it does and how best to ‘counteract’ its stubborn tendency to lean to one side.
I have a long post lined up that explains what I did to arrive at my conclusions and it contains the pattern for working this way. But time is short and so I thought I would just post a synopsis for now.
Basically, to make the DBH shapes that I need to make, I first need to be able to stitch evenly.
But before I could do that, I needed to work out how to make good right angle corners.
The corners eluded me until I managed to work out the relationship of the ‘corded’ return row to the rest of the work, especially at the start of a row.
I have since worked out that the return row:
a. Should be counted as the first stitch
b. Should be made as flat as possible, with no knots!
c. And to note that as it is shorter than a normal stitch, thus technically it represents a ‘partial stitch’. Which means it adds a building block to the start of the row but not enough height.
d. ‘Stitch height’ is a very important consideration in lace-making generally.
Lot’s more later !
For now though:
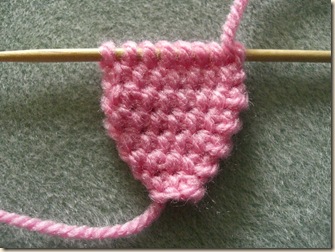
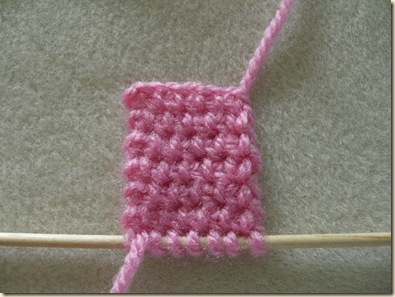
My even shaping investigations resulted in this:
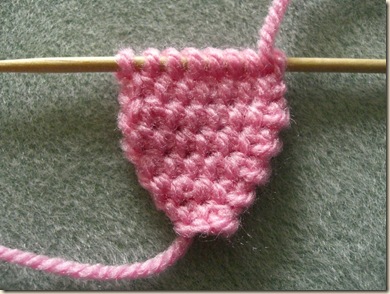
They were then followed by investigations into decreasing precisely, as they did on The Bag, like this:
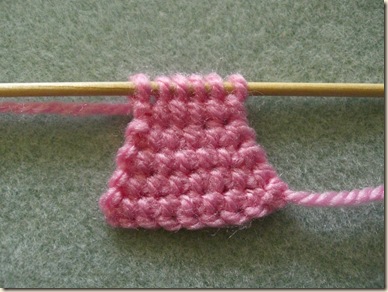
then increasing:
I’ll tell you next time exactly what I did to get there...
Must dash !

