Monday, 9 August 2021

To be or not to be…

Dear stitchers and artists,

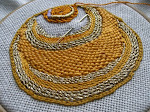
I managed to spend three hours, on and off in single-minded pursuit of stitch mechanics on about 5 stitches I had been working on for the last two summers.  I had my notes to hand and, my by now, very cramped doodle cloth, and away I went.

Because reality was close on my heels, I had to really go into ‘the zone’ with regard to working out, noting down, photographing and testing hypotheses.  I was so desperate to get to the bottom of certain areas of ambiguity I was almost in a parallel universe of concentration and one-ness.  It felt really good!

It worked!  I mean it paid off, I got my answers.  Feeling encouraged to battle on, I tackled all 5 and wrote up my notes.  

The notes are not tidy, yet, but at least they are all there and have been improved, tested and ticked.  

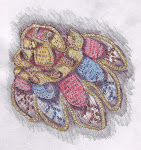
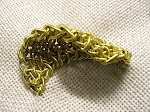
Ok, so Danish Stitch is actually the basis of a stitch that I think I’ve invented? That sounds weird but it’s true.

I was desperately looking for a knot stitch that would end with 4 spokes, I thought I found it with Danish stitch, but I now see in the second ‘flipped’ stage of the stitch, I had actually introduced something quite different that changes the symmetry and weight of the stitch.  The end result is a stitch that has a circular centre with 4 anchor points.  These anchors offer up huge range of possibilities for spokes into which you can weave, or stitch extra design elements to mimic natural forms more convincingly.

How I got there is another story altogether and one that involves a video on YouTube that I cannot for the life of me find, that was produced in another language.   I often watch videos that are not in English because I don’t actually need to hear them but to watch them.  In fact for most of my technical learning, I will turn off the sound and play music instead, as I find the speech in videos os often very distracting and even frustrating..

Result is, I found a stitch that provides a basis for many, many possibilities with regard to miniature flowers, especially.  Oh what fun lies ahead ppl…..

Here is a photo of Barbados that is my favourite.  Just look at that jade water just calling you to dive in and float without any effort with a Daiquiri in your hand resting on your tummy…..hahah!


Friday, 6 August 2021

New pdf patterns in the pipeline!

Hey ppl, it is good to be back!

Ok, so I had been digging and digging and planting and generally transforming that patch of land, then to my complete amazement the grass started growing back!  So that has reduced my workload by about 40%.

For the rest I’m planting shrubs, perennials and wildflowers.

So while I was resting from my labours, it occurred to me that I needed to locate some notes and diagrams I had set aside about a year ago…..oh no, you can guess the rest…..yes, in my tired state I basically turned everything upside down trying to find this pattern….

After 3 days of mayhem, I found it!  You can imagine the relief….it’s like euphoria really?

I had been working on this pattern for about 6 years, on and off.  It brings together tips and tricks from a wide variety of old and often international sources.  But most of all, it’s about me making connections with stuff that could provide longed-for solutions to embroidery creations.

Remember, for most of my childhood I lived like a nomad out of a tiny suitcase that contained all my often miniature precious items.  So ‘miniature’ and ‘cute’ have been two hugely important concepts for me.

So this pattern is of a rose, with a bud and some leaves.  The thing is tiny and most of it is completed with one thread, but the 3-d parts are in two threads.

Then, while I was looking for all these notes, which were placed so safely away I could not find them for three days, as explained above, I found notes for two other patterns that I plan to sort out and offer for sale as instant downloads on my Etsy shop.

Now one of these sets of notes is about Danish Knotted Stitch.  I came across this stitch in a very old book at my local reference library.  You see the knot in a lot of places but you don’t see it done……um, correctly.

Sorry folks, but facts are facts.  The Danish Knotted Stitch is square shaped, yet in most places, you see it as a triangle.

In my view, that is because the central ‘flip’ in that knot, it often not understood,  and dare I say then fudged and hence it remains a triangle.  The knot is square in its proper form and in so doing provides a huge potential as the centre of a flower.

I am actually fascinated with how to produce a Corolla in embroidery, as there are many ways to do it, and so many stitches can be adopted.  However, because I adore botanical drawing and water colours, I have always wanted in embroidery to get as close to the truth about plant anatomy as I could, so I invented a new way of doing a Corolla, well two actually but I’m happy to stick with one.  

So future pdf pattterns I hope will be:

Mini rose & bud

Corolla 1

Tendrils 1


More about that later…


So where am  I with the table…..well the scrolls are just that and I have to practice how to do them, first coiling to the left then to the right.  I thought I could simply italicise the two circular sections, but just lately I’ve decided the whole lower section of those shells have to be reminders of the sea, rather than reminders of plants.  I could try black brown and gold, or light brown and gold or very pale pastel shades with gold highlights.  Not sure yet because I need to be more relaxed to cope with all the choices.

Have a great weekend xx


Tuesday, 27 July 2021

Close up of the solution

See what I mean?   This is a lot of detail to convey eleven times in a 2 x 1.5 inch space…will have to do some thinking….ouch!


 As you can see the ‘knobs’ are not symmetrical.

Luckily I’ve found a painted mould and the exact same unpainted version.

In the painted one they have used gold to highlight….

Monday, 26 July 2021

Houston we have a problem

Hola Friends!

Long time etc… Been mighty busy, have taken on something not huge but not tiny.

In so doing, I’ve had to reassess certain technical problems that were kind of bugging me.

Basically, the Mermaid’s eye has to come out.  It’s too heavy and simply wrong.

Then I realised that the Rococo shells were not to my liking.  I painted them individually from a drawing, whereas I should have worked from a photo of the the 3-d object.


I like more than I dislike overall, but what I dislike is so in my face, it has to go.

I need to completely understand what those holes at the base of the shells are doing, as they are not convincing in my opinion.  So I washed all of them off and it’s literally back to the drawing board.

But the good thing is, they were easy to paint, in that you keep turning the table top to paint the next and you get into a therapeutic rhythm and before you know it, you’ve completed the circuit.

OK, so because I believe we throw away too many clothes and the planet is choking under the weight of all this waste fibre, I decided to alter and up cycle my clothes.  I find this a very satisfying thing to do, because it saves so much money.  So I’ve sorted out four pairs of trousers, a pair of shorts and a blouse.  

On top of that, I’ve taken on a project that is not going to last forever but it’s going to be intense for a while.  Basically I took over a derelict piece of land.  I walk past this strip of land many times and about 6 weeks ago I was appalled at the state of it.  So having successfully created a wild flower meadow at the front of my parent’s house, by simply throwing mixed wild bird seed at it every Saturday, I realised that if you want to stuff lots of flowers in, you really need a bit of wheat in there too, as you need it to fix the nitrogen.  In organic gardening you always stick in your nitrogen fixers in what they call companion planting.

I did that in my own garden and hence I now have a jungle that I have to hack back now and again.  

Can I say, I know that as I work on this derelict patch of land people are looking at me thinking I will regret what I’ve started, because the soil is so poor and it’s not even flat.  But what they don’t realise is that with organic gardening, you can turn barren soil into a good growing medium in next to no time.  Forget lugging home sack after sack of compost….all you need is a good compost heap from which to make compost tonic and add volcanic ash and wood shavings and you can grow what you like in next to no time.

Oh well I have to go because ‘Always Hungry’ has announced his tummy is rumbling…


Wednesday, 23 June 2021

Rococo table 7

 Well, things have changed with the table.  After painstakingly cutting and painting all those shells, I realised they just didn’t work and it struck me I had missed a trick….

Basically, the background colour presented an opportunity in its own right….in that the paint contains plaster, so painting directly onto plaster is either a wonderful way to revisit the past e.g. Frescos, or it’s a null and void sell out to darling acrylics.

Well of course I went for the more difficult option of Frescoes and can I say, what wonderful medium….ghostly and very forgiving!


Monday, 21 June 2021

Rococo table 7

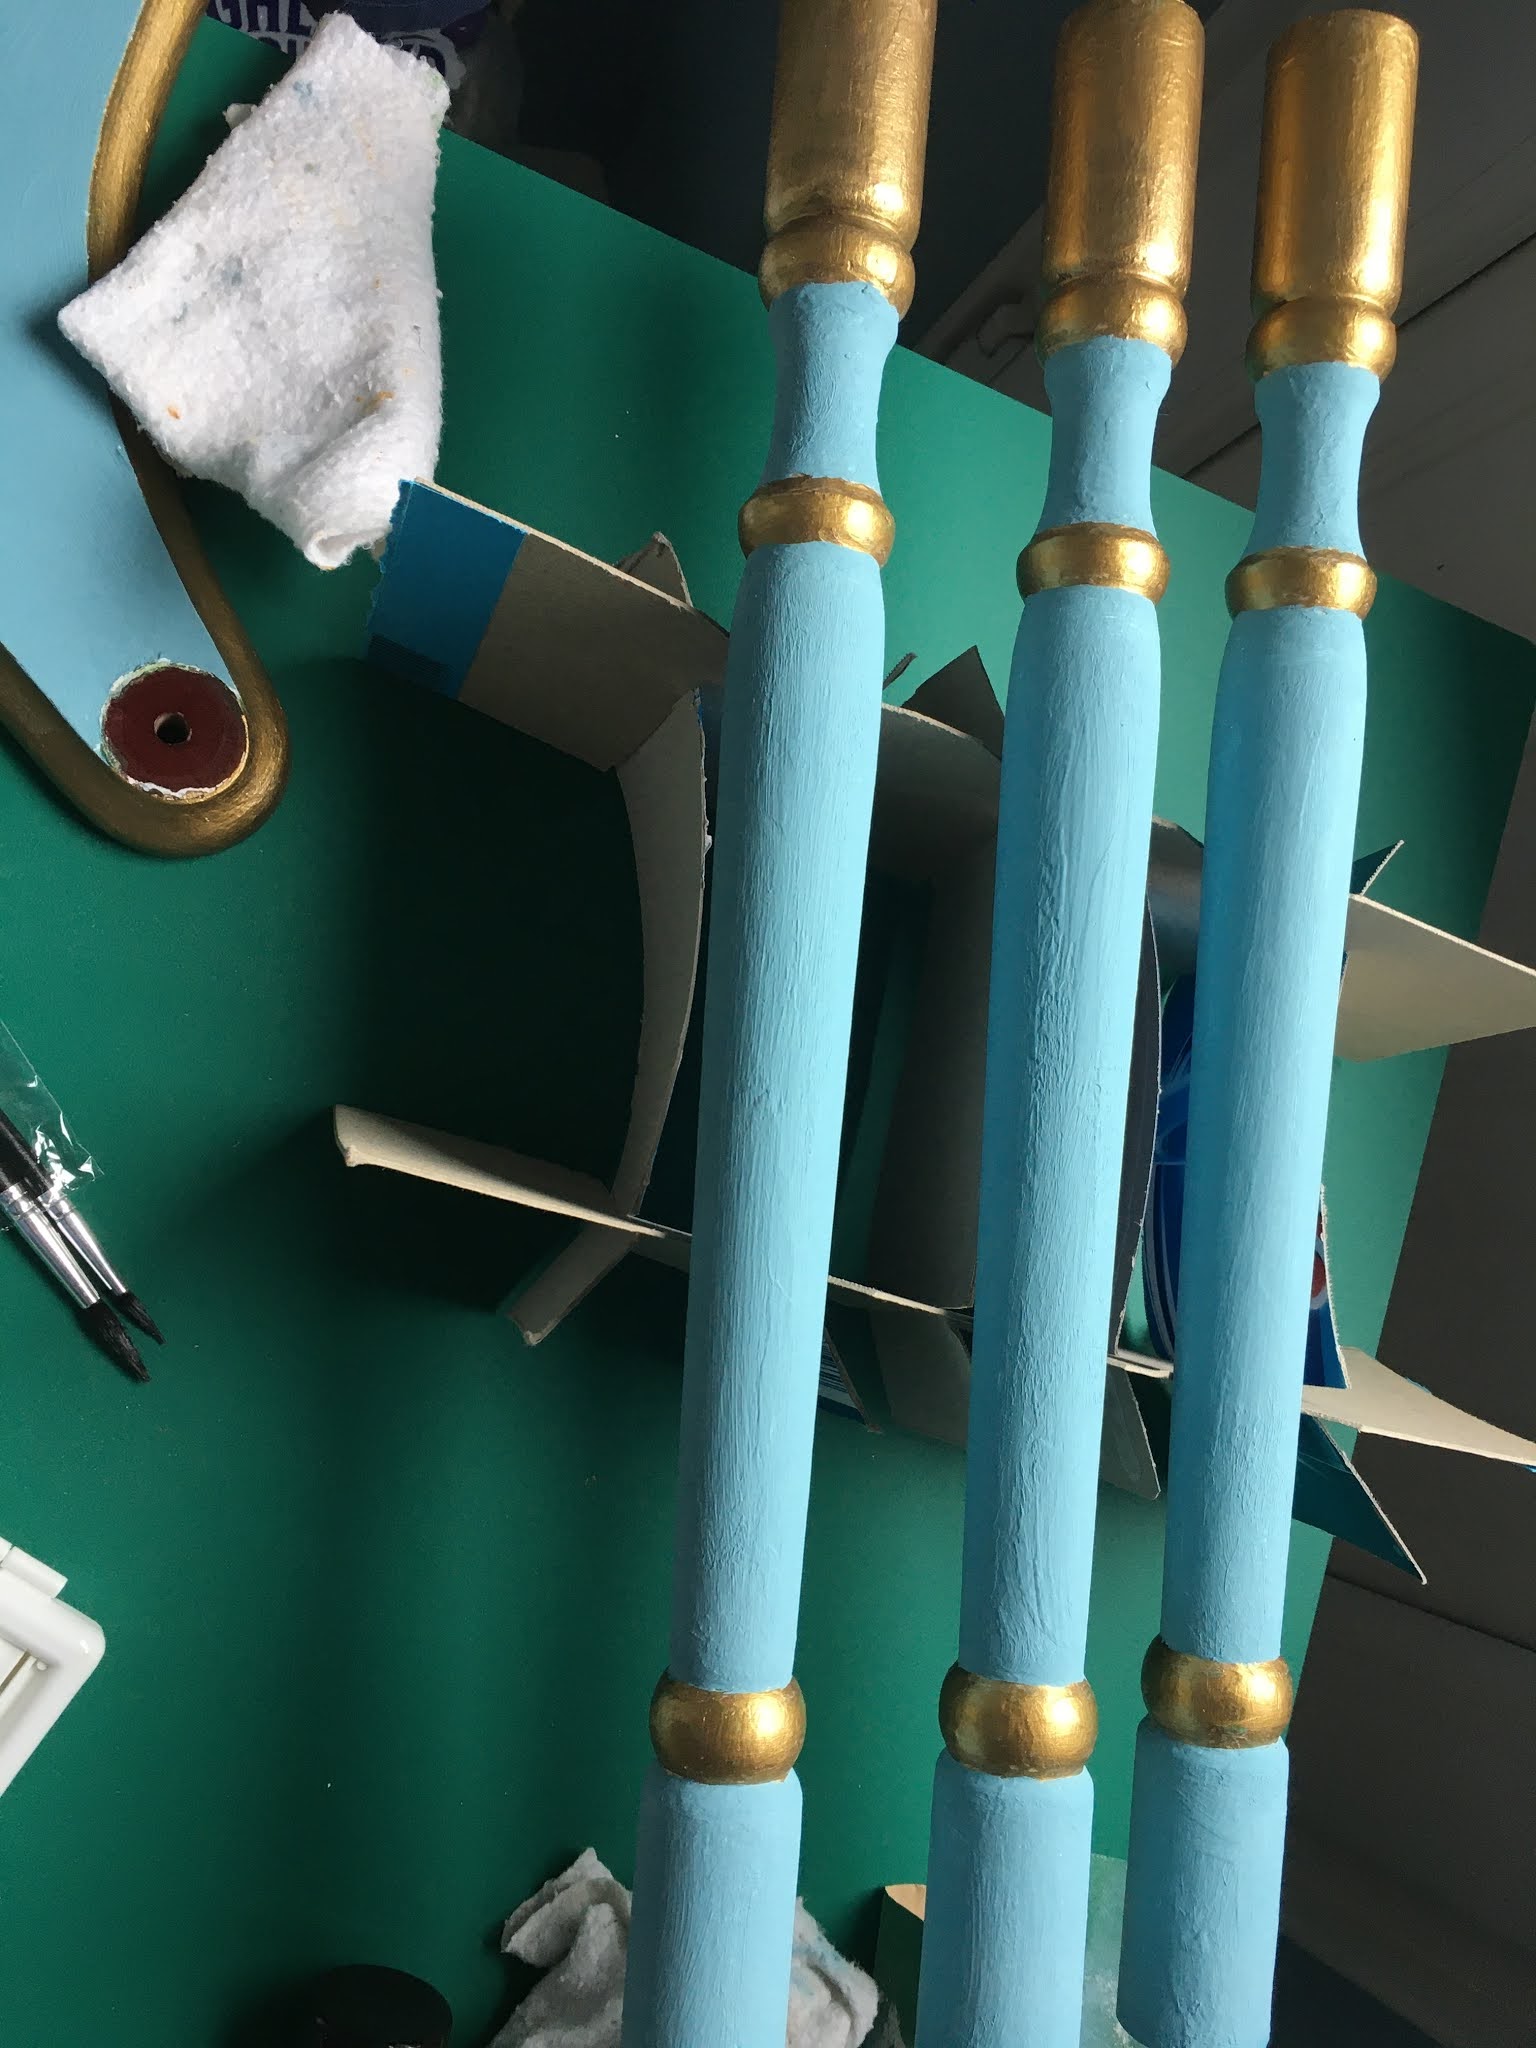
 I tidied up the legs over the weekend, they are almost finished, just one more coat of gold furniture paint needed.  It is much easier to paint them having dismantled the table and if I had done that to start with I would have saved about 4 days.  However I needed to see the table assembled to make final colour choices, so I’m not going to beat myself up about that.

I found a really nice gold foil for the background on Marie A, but it does include the name of the chocolate and some cute embossed tiny horses.  I’m OK with that, because the gold is perfect for my purposes, so that is a ‘fill’ as per the script of Margin Call with Kevin Spacey, which is a film I’ve seen now about 38 times.  

Then I painted the shells about 4 times with 2 golds.  I’m a little concerned they are quite flat looking now and am toying with the idea of making them more 3-d?  I’ll do an experiment and see what happens.  


Apart from all of that, I covered yet more of my boxes lying around the place.  I found it much easier to use a sponge roller to apply the school PVA on both the paper and the surface.  I also watered the PVA down a bit because it was drying super fast.  I think the beaded box looks quite Chinese now, which is Ok but unintentional.  This was because I didn’t quite have enough floral paper and so had to include as protective gold border.  The beads are very clever, they are not beads at all and so there is no snagging threat.  


I need to finish the table this week, because I need to make a start on the chest of drawers.  For that I bought legs from China, which are very well made and fit for purpose.  I worry a lot about these projects before I start them and constantly work on them in my head.  I think the sides of the chest will be aged bronze patina, which is very exciting but if it’s not really enough, sort of thing, I might apply the gold so that it looks like faded gilding, now that’s going to be hard, but not impossible, especially if I use a sponge. 

To quote from Margin Call again “Well you’ve gotta come out of the gates storming, no swaps…”


Thursday, 17 June 2021

Rococo table 6

 Hi everyone,

I must admit I have been a little distracted by the gorgeous weather and just how many coats of paint you can apply when working outside.

The other thing that happened was I had a massive, really massive tidy up.  It did me good to find old favourites and become enthused by materials that I stashed with good intentions but neglected ever since.  Then something happened to me, where suddenly a lot of ‘stuff’ that was languishing appeared to me like shimmering oases in the desert, whereby I could see the finished item, at long last.

So after that I took on more and more stuff, boxes, paints, tools everywhere... I’m pleased to say quite a few things have been sorted out.

Ok, so the table is basically finished design-wise.  See photos below.   I painstakingly cut out 11 shells in thin card to paint....you guessed it: gold.  I used my Fiskars knife, which is a wicked little tool and makes me want to make more of these things.  The area between the two circular designs worries me a little, but if I think it needs a bit more work, I’ll just cut out more decoupage characters and stick them on... I have a lot of them!  Painting the finished table with a coat of satin varnish will be interesting, but I’ll use hairspray as a fixative first on the images and hopefully there won’t be any colour runs...


I took the table apart to tidy up the legs and made a third arm to rest them on while drying.


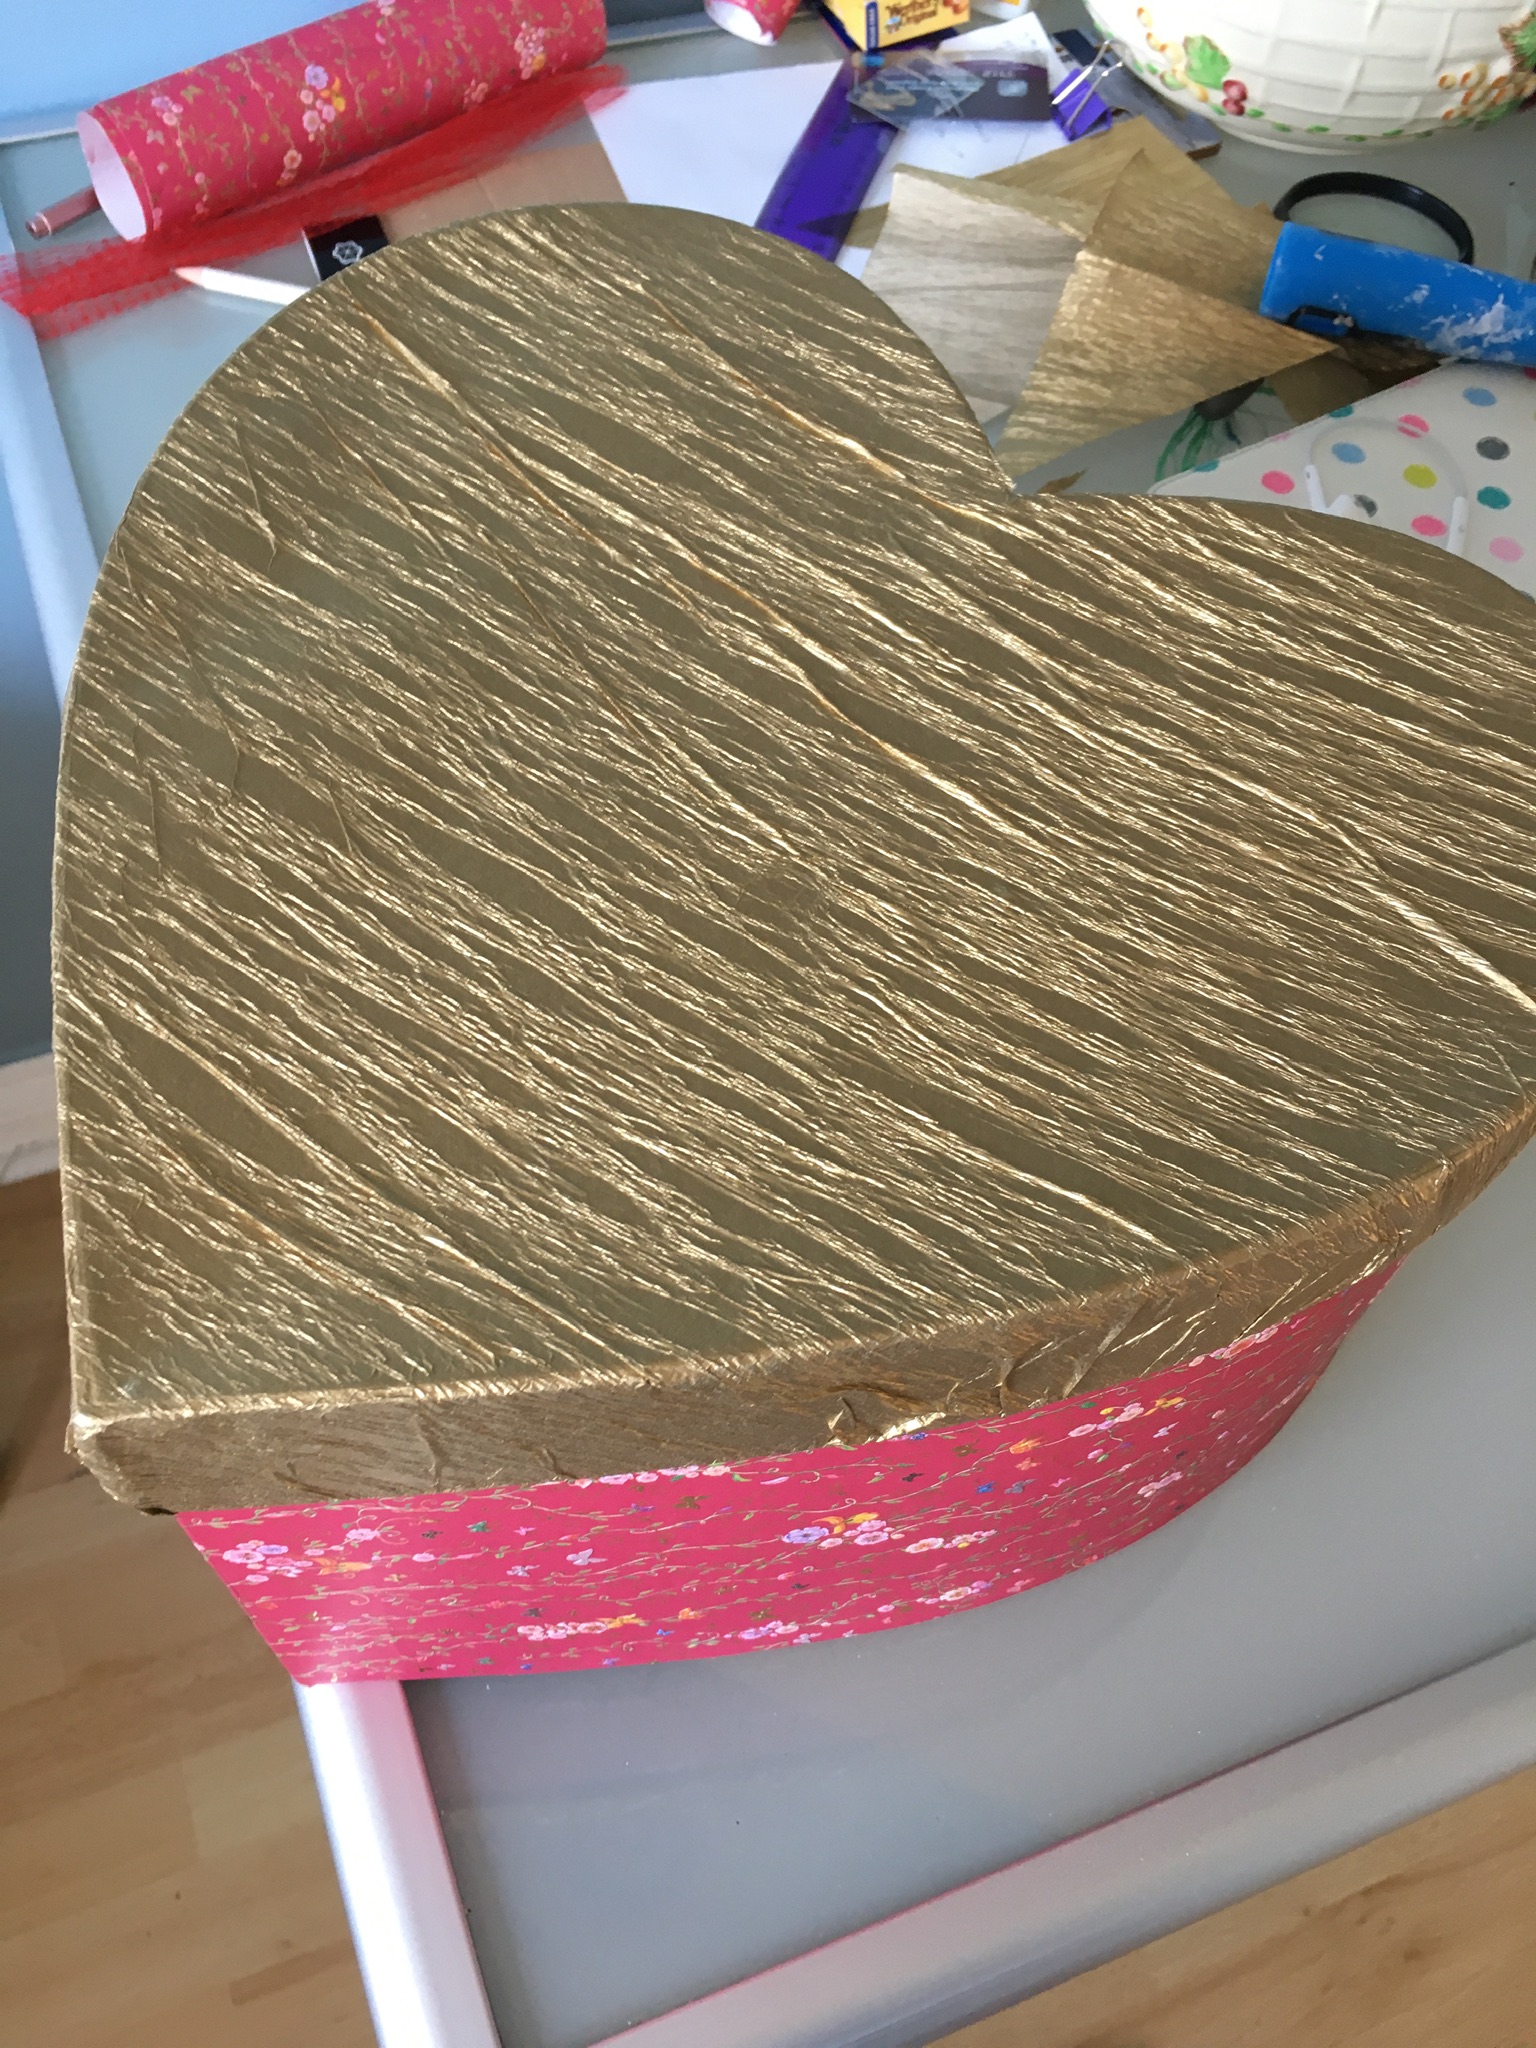
Then I covered a heart shaped box, it’s actually quite large but so lovely to glimpse in a stuffed cupboard.  It’s a gift.  Completing the lid gave me a whole stack of ideas for seascapes and golden sunsets etc.  


The great thing about crepe papering the top was it makes the paper much more durable.  I covered it horizontally because the pink paper which is divine had to be used the same way because I only had one sheet.  The paper looks like embroidered fabric, which is so adorable p.  It cost £2.50 a sheet about 10 years ago from Athena.

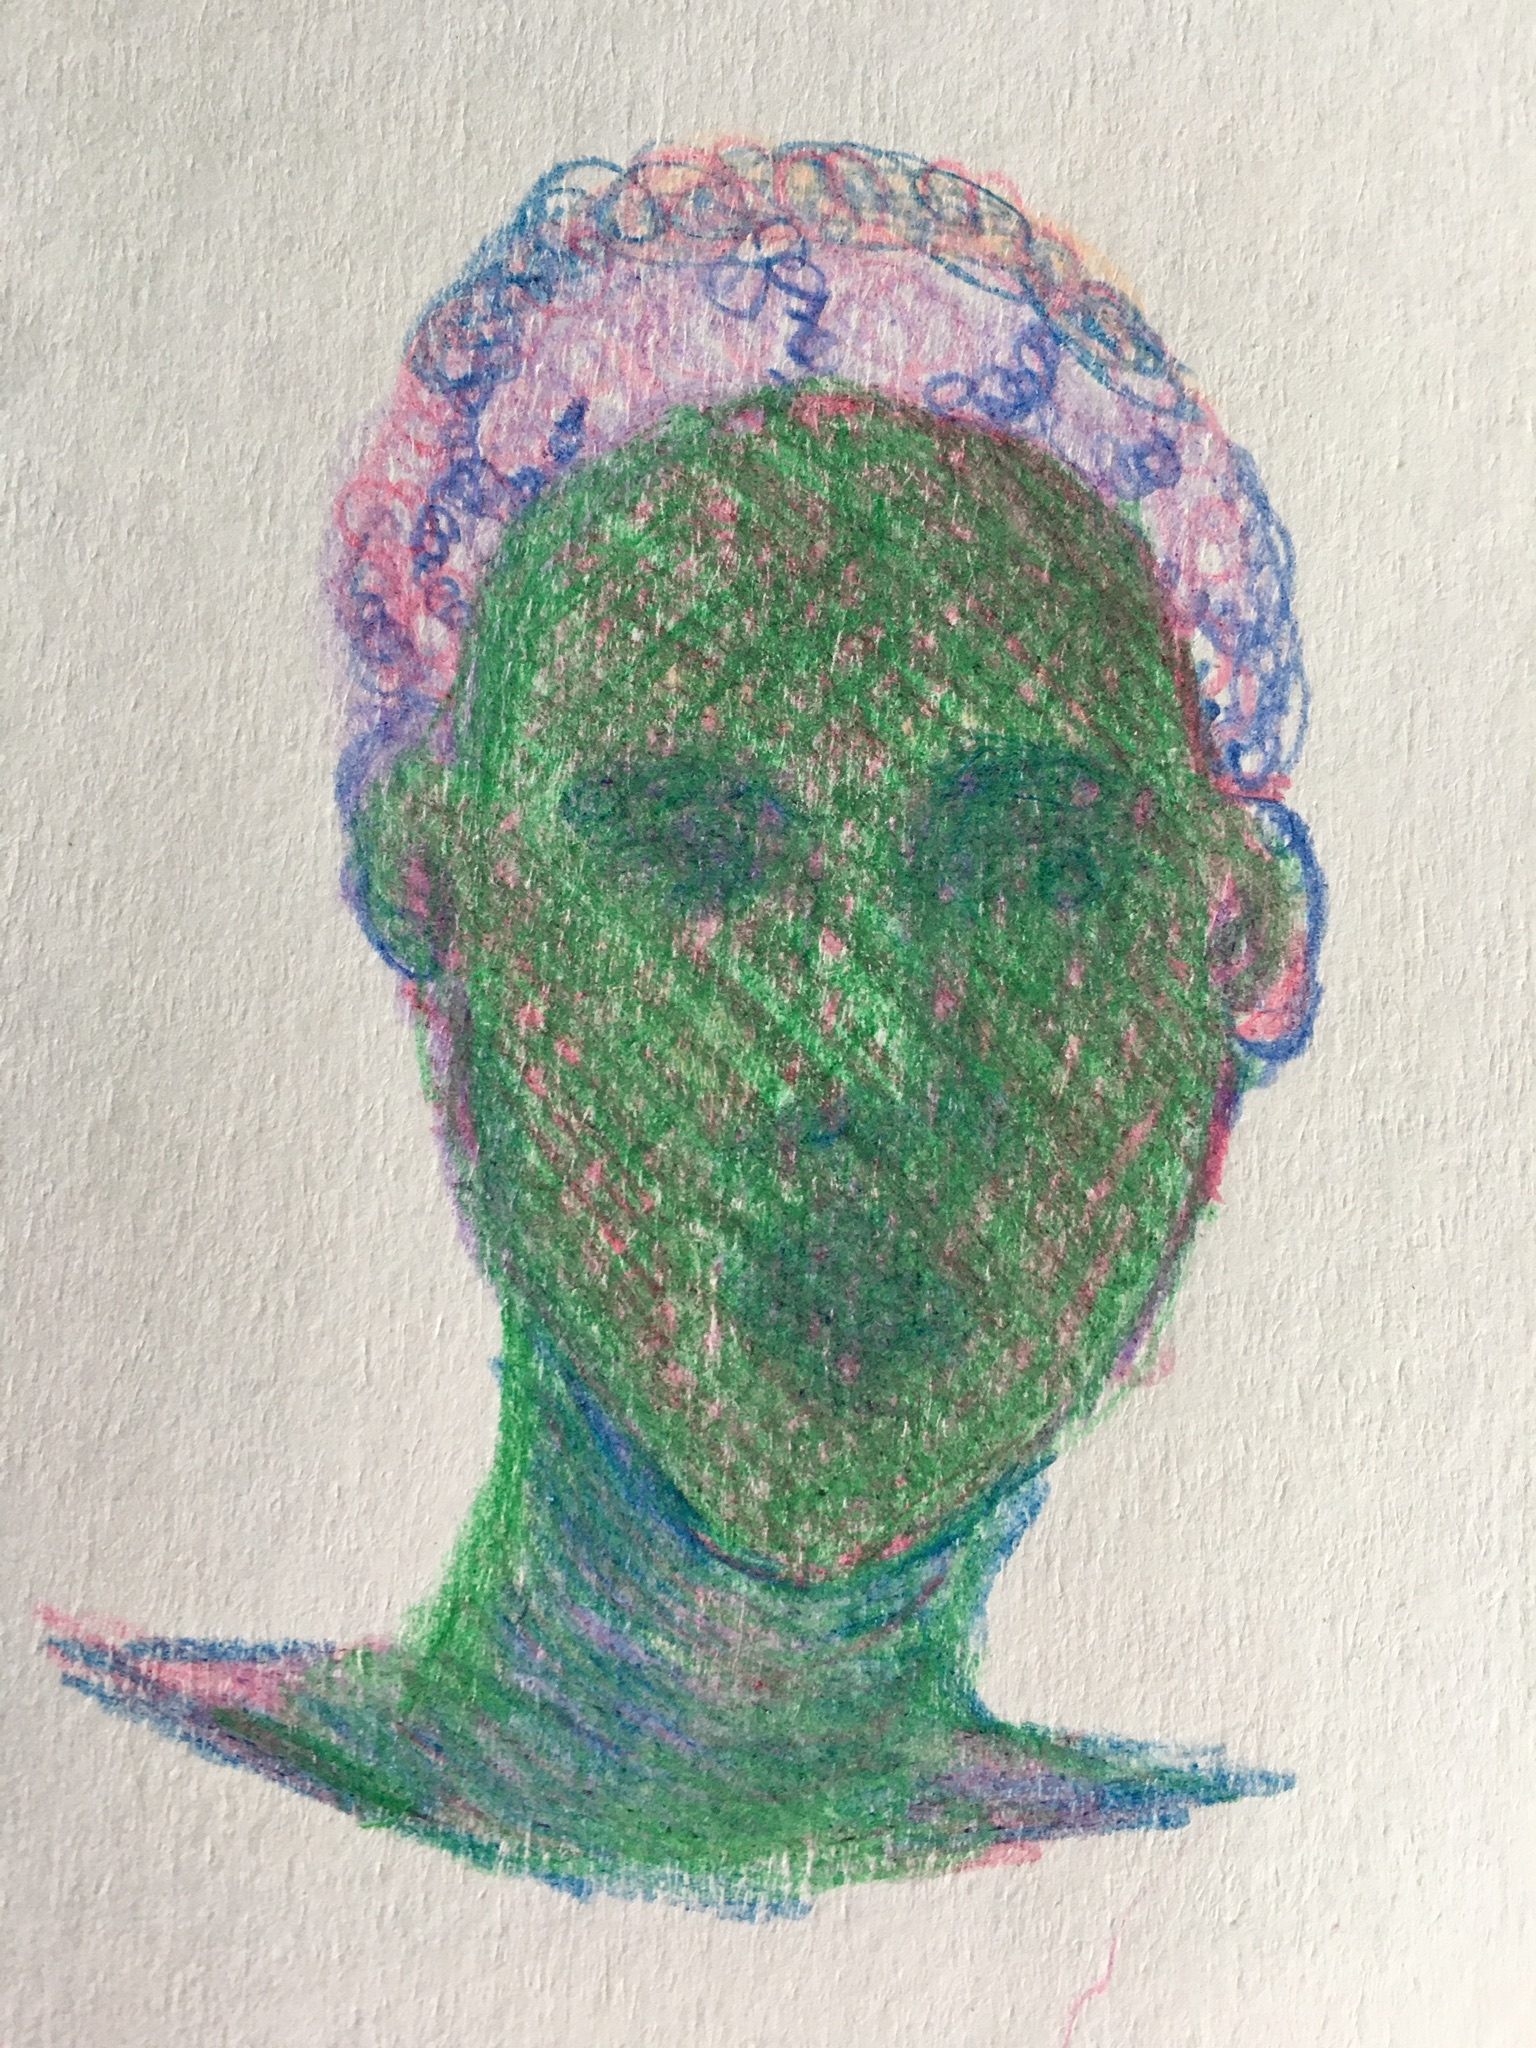
Then I painted another box with Rustoleum Pearlescent spray paint, over eggshell. I don’t have a picture of that, but in amongst it all I did an automatic colour drawing of a person that popped into my head.


Then I painted another box with a rose stencil or stamper, again by Rustoleum and decorated yet another box that was housing paints.